
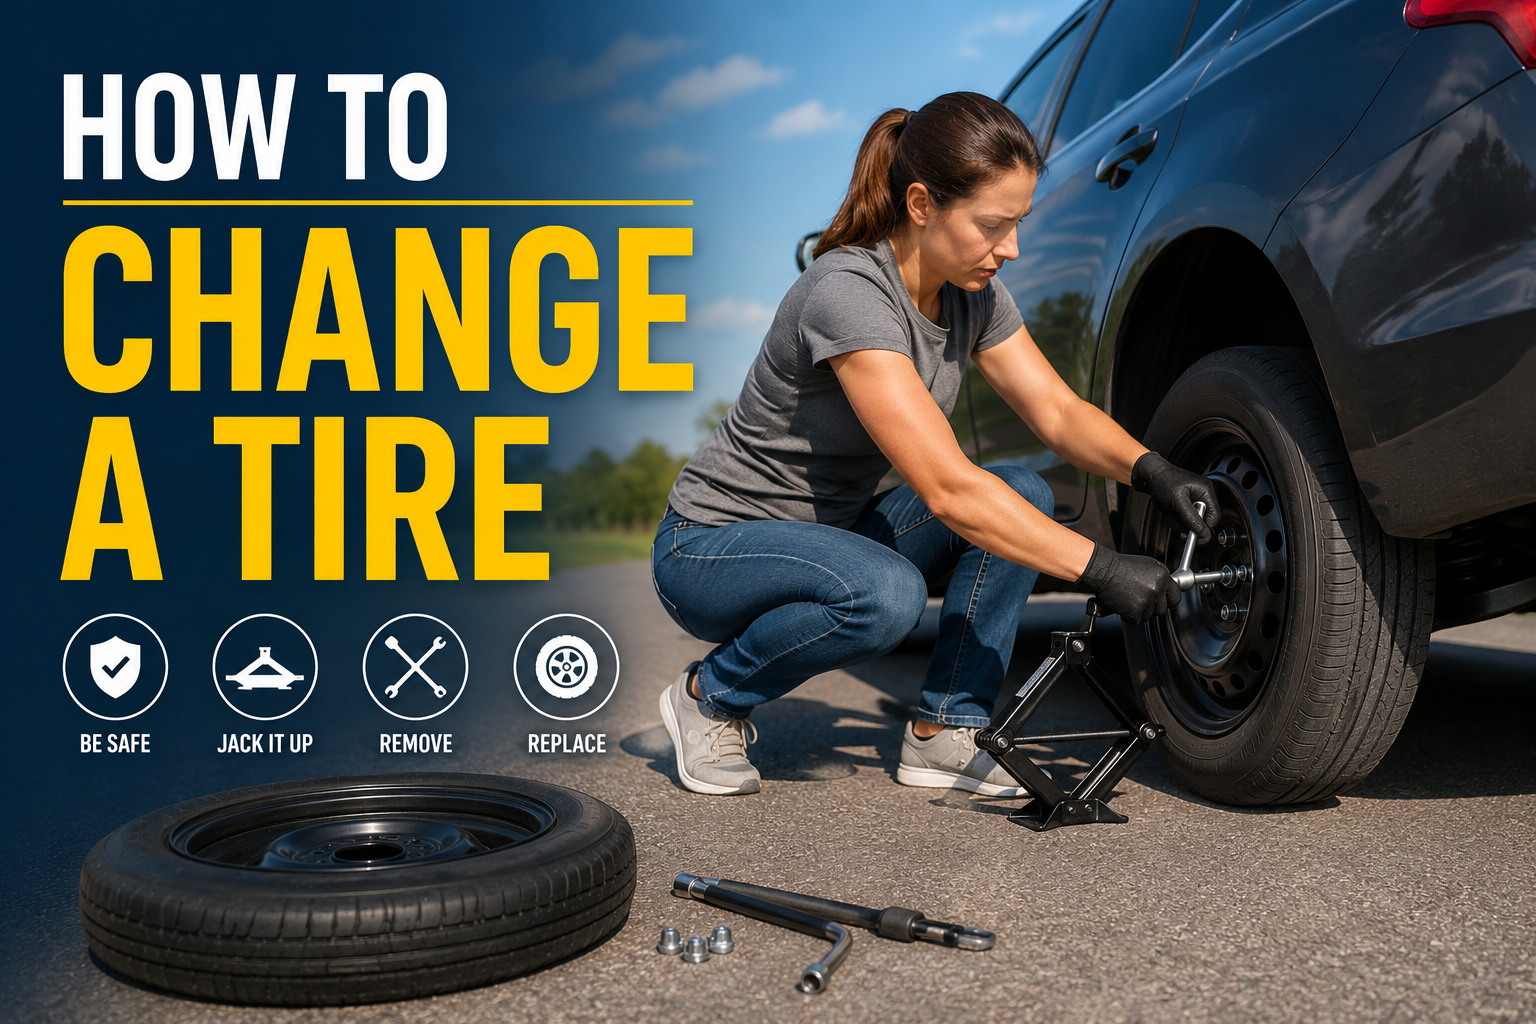
How to Change a Tire
How to Change a Tire: Step-by-Step Guide for Beginners (2026)
A flat tire rarely happens at a convenient time, but knowing how to change one turns a stressful roadside moment into a manageable ten-minute task. Roadside clubs like AAA still field roughly 32 million assistance calls a year, and flat tires remain one of the top three reasons people call. This guide walks through prepping your vehicle safely, using a jack correctly, and torquing the final lug nut — plus what’s different if your car is one of the growing number of newer models that no longer ships with a full spare tire at all.
Flat tires and dead batteries together account for nearly half of all roadside assistance calls nationwide, and a single flatbed tow now averages $109–$325 depending on distance — often more than the cost of learning to change a tire yourself.
Safety First: Before You Start
Before touching a single tool, get your car and yourself out of harm’s way. A flat tire changed on an unstable or unsafe surface can cause serious injury, so take a few minutes to set up properly before you loosen a single bolt.
- Pull onto a flat, firm surface well away from moving traffic
- Turn on your hazard lights the moment you notice the flat
- Engage the parking brake fully before doing anything else
- Place wheel wedges or heavy rocks behind the tires still on the ground
- Never change a tire on a slope, soft shoulder, or blind curve
Tools & Supplies You’ll Need
Most vehicles come equipped with everything required for a basic tire change, but it’s worth checking your trunk before an emergency happens. One 2026 wrinkle: many new cars now ship with a tire inflation kit or run-flat tires instead of a spare, so confirm what your vehicle actually carries before you’re stranded and find out the hard way.
- Spare tire — full-size or a compact “donut,” if equipped
- Jack — usually stored with the spare or under the trunk floor
- Lug wrench — for loosening and tightening lug nuts
- Owner’s manual — shows jack points specific to your model
- Tire inflation/sealant kit — standard equipment on many new vehicles in place of a spare
- Flashlight and gloves — essential for nighttime or roadside changes
- Tire pressure gauge — to check the spare before driving
If your car uses a sealant-and-compressor kit instead of a spare, that kit only works on small punctures in the tread — not sidewall damage or blowouts. In those cases, skip straight to calling roadside assistance rather than wasting time on a kit that won’t hold.
Step-by-Step: How to Change a Tire
Follow these steps in order. Working out of sequence — especially jacking up the car before loosening the lug nuts — is the most common mistake beginners make, and it’s avoidable once you know why the order matters.
Loosen the Lug Nuts
Before raising the vehicle, use your lug wrench to loosen each lug nut about a quarter turn. Do this while the tire is still on the ground, since the wheel’s weight keeps it from spinning as you apply force. Lug nuts are often machine-tightened, so they can be stubborn — stand on the wrench if needed, but don’t fully remove them yet. This step is much harder, sometimes impossible, once the car is lifted, so never skip straight to jacking up the vehicle first.
Position and Raise the Jack
Check your owner’s manual to find the correct jack point near the flat tire — usually a reinforced spot along the frame. Placing the jack incorrectly can damage your car or cause it to slip mid-lift. Set the jack on firm, level ground and raise the vehicle slowly until the flat tire clears the ground by a few inches. Go slow and check stability as you lift; if the car wobbles or the jack sinks into soft ground, lower it and reposition before continuing.
Remove the Lug Nuts and Flat Tire
With the car safely raised, finish unscrewing the lug nuts by hand and set them aside somewhere you won’t lose them. Grip the flat tire with both hands and pull it straight toward you until it slides off the wheel hub. Flat tires are heavier than they look, so bend your knees and lift with your legs rather than your back. Lay the tire flat on the ground nearby — you’ll load it into the vehicle once the spare is mounted.
Mount the Spare Tire
Lift the spare and align its bolt holes with the wheel studs, then push it onto the hub until it sits flush against the mounting surface. Lining up the valve stem position first usually makes this quicker. Once seated, the spare should sit evenly with no visible gap around the hub. Confirm it’s fully pushed on before moving to the lug nuts — a misaligned spare will wobble noticeably once you start driving.
Tighten the Lug Nuts by Hand
Thread each lug nut back on by hand, turning clockwise, before using any tools. Hand-tightening first prevents cross-threading, which can strip the bolt and cause costly damage. Work in a star pattern — tightening nuts opposite each other rather than moving around in a circle — to seat the wheel evenly against the hub. Snug each one as much as possible with your fingers, then switch to the lug wrench for a firmer, but still partial, tightening pass.
Lower the Vehicle
Slowly lower the jack until the spare touches the ground but still carries only partial weight from the car. Keep it slightly raised rather than fully grounded, since the wheel needs to stay still for the final tightening pass. Lowering too quickly can cause the car to shift suddenly, so ease the jack down in a controlled motion. Once the tire has firm contact with the pavement without bearing the car’s full weight, move to the last step.
Fully Tighten the Lug Nuts
Finish lowering the jack completely, then use your body weight on the lug wrench to tighten each nut as firmly as possible, again following the star pattern. This distributes pressure evenly and prevents the wheel from warping. Fully tightened lug nuts shouldn’t move at all when you push on the wrench. If you own a torque wrench, tighten to your vehicle’s specified setting from the owner’s manual for the most accurate, safest fit.
Check Tire Pressure
Before driving off, check the spare’s pressure with your gauge and compare it to the recommended PSI listed on the driver’s door jamb or in the manual. Donut spares typically require higher pressure than standard tires — often 60 PSI. If pressure is low, drive cautiously at low speed to the nearest gas station to add air. This final check confirms the spare is genuinely road-ready, not just visually installed.
Driving on a Spare Tire: What to Know
Not all spares are built the same, and driving habits should change depending on which type your vehicle carries. Compact “donut” spares are designed for short-term use only, while full-size matching spares behave much closer to a normal tire.
| Spare type | Speed limit | Distance before replacing |
|---|---|---|
| Compact “donut” spare | Under 50 mph | 50–70 miles |
| Full-size matching spare | Normal posted limits | Can be used like a regular tire short-term |
| Sealant/inflation kit repair | Under 50 mph | Get to a shop immediately — it’s a temporary patch, not a fix |
Avoid hard cornering or sudden braking on any spare, since replacement wheels generally have less grip than your original tires. Treat every spare as a temporary solution and get the damaged tire repaired or replaced as soon as your schedule allows.
Common Mistakes to Avoid
Even careful drivers make small errors that turn a simple tire change into a bigger problem. These are the mistakes roadside technicians report seeing most often.
- Jacking up the car first — always loosen lug nuts while the tire is still grounded
- Using an unstable surface — soft dirt, gravel, or slopes can cause the jack to slip
- Skipping the star pattern — uneven tightening can warp the wheel over time
- Over-tightening lug nuts — can strip threads or crack the wheel
- Forgetting to check spare pressure — a flat spare leaves you stranded again
When to Call for Help Instead
Sometimes changing a tire yourself isn’t the safest or most practical option. Recognizing when to call for backup matters just as much as knowing the steps.
- No spare tire, or the spare is damaged, underinflated, or aged past six to ten years
- You’re stranded on a busy highway or shoulder with limited working space
- Poor weather conditions like heavy rain, ice, or darkness with no lighting
- Lug nuts are rusted or stripped and won’t budge no matter how much force you apply
- Your vehicle only carries a sealant kit and the damage is a sidewall tear or blowout
In these situations, roadside assistance, a trusted mechanic, or your insurer’s towing benefit is the safer call — and with average tow costs now running $109–$325, it’s often cheaper than the risk of a roadside injury.
Frequently Asked Questions
How long does it take to change a tire?
Beginners may take closer to 30–45 minutes their first time, while experienced drivers with practice often finish in under 15 minutes. Weather, rusted lug nuts, and whether you have the right tools on hand can all add extra time. Practicing once in a safe driveway setting can noticeably speed up your response during an actual roadside emergency, when stress and time pressure make everything harder.
Can I drive on a flat tire?
Even short distances at low speed can turn a simple tire replacement into a far more expensive repair by bending the rim or damaging surrounding components. If you must move the vehicle a very short distance to reach safety, drive slowly and stop as soon as you’re clear of traffic. Otherwise, pull over immediately and either change the tire yourself or call for roadside assistance.
What if my car doesn’t have a spare tire?
Many vehicles built in the last several years skip the spare entirely in favor of a compressor-and-sealant kit or run-flat tires designed to be driven a short distance at reduced speed. These work only for minor tread punctures — sidewall damage, blowouts, or large holes require a tow. Check your trunk or owner’s manual now, before you’re stranded, so you know exactly what your car actually carries.
Do I need to torque lug nuts after changing a tire?
Hand-tightening with a lug wrench gets nuts snug, but a torque wrench ensures even, precise pressure that prevents warped rotors or nuts loosening over time. Most vehicles fall between 80 and 120 foot-pounds, though this varies by model, so check your manual for the exact figure. If you don’t own a torque wrench, many auto shops will check and correct torque for free shortly after a roadside tire change.
Conclusion
Changing a tire is one of those skills that feels intimidating until you’ve done it once, and then becomes second nature. By staying safe, using the right tools, and following each step in order — loosening before lifting, tightening in a star pattern, and checking your spare’s pressure — you’ll be back on the road with confidence instead of waiting on the shoulder for help. If your vehicle only carries an inflation kit rather than a spare, know its limits ahead of time. Keep this guide bookmarked, and consider practicing once in a low-pressure setting so you’re ready the moment a real flat tire happens.